In the realm of data storage and accessibility, a hard disk enclosure serves as a versatile solution for converting internal hard drives into external storage devices. Whether repurposing an old hard drive or seeking expanded storage capacity, the installation and setup of a hard disk enclosure are crucial steps in optimizing external storage. This guide outlines the step-by-step process to help users seamlessly install and set up a hard disk enclosure for effective external storage.

Before beginning the installation process, ensure you have all the required tools and components. This typically includes the hard disk enclosure, a compatible internal hard drive, a screwdriver, and the necessary cables (usually USB or eSATA).
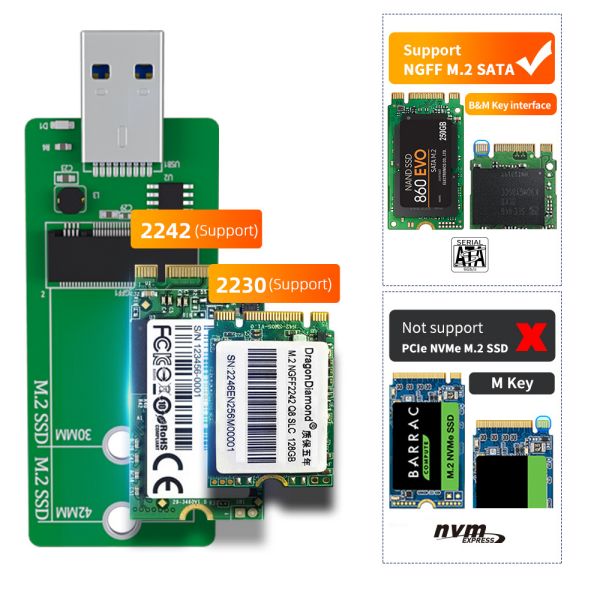
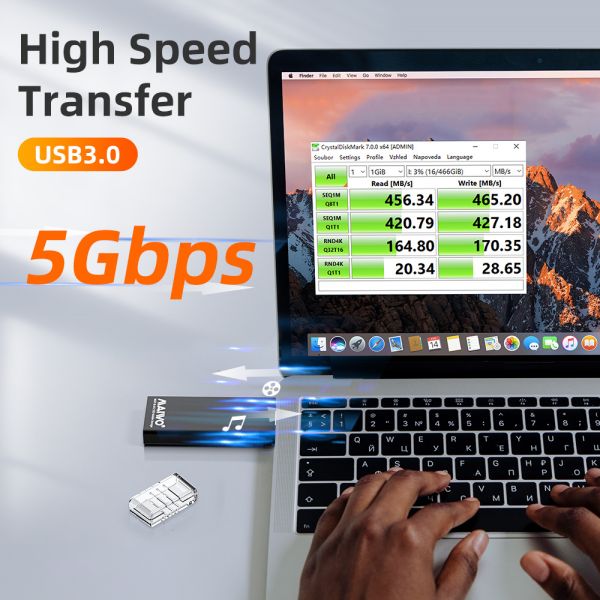
Select a hard disk enclosure that matches the specifications of your internal hard drive. Check for compatibility in terms of drive size (2.5-inch or 3.5-inch), connection interface (SATA or IDE), and the enclosure's supported transfer speed (USB 2.0, USB 3.0, eSATA, etc.).
If you are repurposing an internal hard drive, ensure it is properly formatted and contains no critical data, as the installation process involves formatting the drive. Backup important data if necessary.
Use a screwdriver to open the hard disk enclosure. Most enclosures have a casing that can be easily opened by removing screws. Once opened, locate the connectors inside.

Carefully connect the internal hard drive to the enclosure's connectors. Align the drive's SATA or IDE ports with the corresponding ports inside the enclosure and secure the connections. In most cases, no additional tools are required for this step.
Securely attach the internal hard drive within the enclosure using screws provided. This ensures stability and prevents any movement during operation, reducing the risk of damage.
After securing the internal hard drive, close the enclosure casing and fasten the screws. Ensure a snug fit to protect the internal components and provide a finished look to the external storage device.

Using the provided cables (USB, eSATA, etc.), connect the hard disk enclosure to your computer. For USB connections, simply plug the USB cable into an available port on your computer. For eSATA connections, connect the eSATA cable to the corresponding port.
If the hard disk enclosure requires external power (some are powered through the USB or eSATA connection), ensure it is connected to a power source. Power on the enclosure to initiate the connection with your computer.
Upon connecting the enclosure, your computer may recognize the new external drive. However, it might prompt you to format the drive. Follow the on-screen instructions to format the drive, making it compatible with your system.
Once the formatting process is complete, verify that the external drive appears in your computer's file explorer. Your hard disk enclosure is now successfully installed and set up for external storage. You can start using it to store, access, and manage your data.
Installing and setting up a hard disk enclosure for external storage is a straightforward process that enhances the versatility and functionality of internal hard drives. This guide provides a step-by-step overview to help users navigate the installation process effectively. Whether for data backup, additional storage, or repurposing old hard drives, a properly installed hard disk enclosure transforms internal drives into convenient external storage solutions.