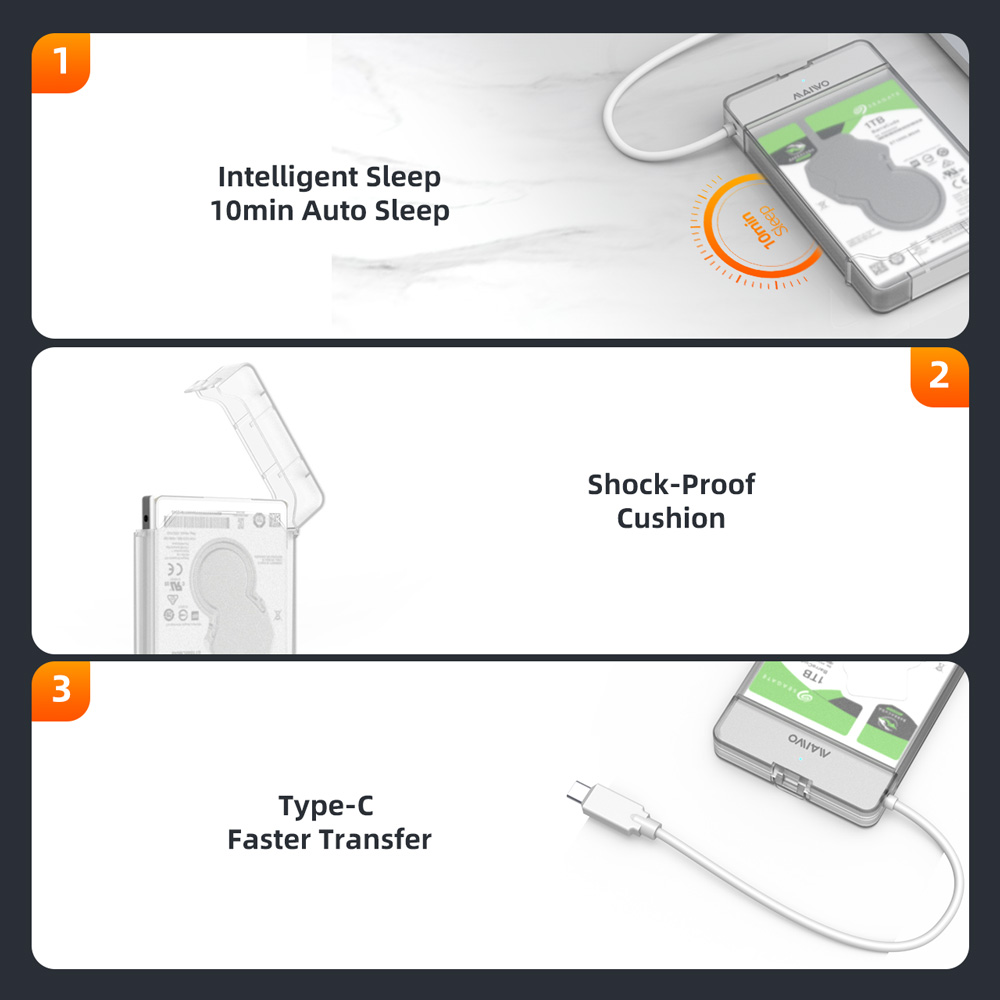
External hard disk enclosures are valuable accessories that enable you to easily connect and utilize your hard drives externally. They offer numerous advantages, such as mobility, data backup and recovery, and additional storage capacity. In this article, we will guide you through the process of using an external hard disk enclosure effectively.
When selecting an external hard disk enclosure, consider factors such as compatibility, interface options, and design. Ensure that the enclosure supports the type and size of the hard drive you wish to use. Additionally, confirm that it has the appropriate interfaces, such as USB, Thunderbolt, or eSATA, to match your computer's connection ports. The design of the enclosure should also be sturdy, heat-resistant, and easy to assemble.
The installation process involves the following steps:
i. Prepare the enclosure
Before inserting the hard drive, remove the enclosure's cover or casing and check for any necessary screws or brackets. Consult the enclosure's manual for specific guidance.
ii. Insert the hard drive
Align the hard drive's SATA connectors with the enclosure's connectors, ensuring a secure fit. Use the provided screws or brackets to fix the drive firmly in place.
iii. Connect the external enclosure to your computer
Using the appropriate interface cable, connect one end to the enclosure and the other end to your computer's corresponding port. Make sure the connection is secure and tight to ensure proper data transfer.
Once connected, the hard drive might require formatting and initialization before use:
i. Recognizing the drive
Access your computer's "Disk Management" utility to identify the newly connected hard drive. If the device is listed, proceed to the next step; if not, ensure that all connections are properly secured and try reconnecting.
ii. Formatting the drive
Right-click on the hard drive and select the "Format" option. Choose the desired file system (NTFS for Windows or APFS/HFS+ for Mac) and click "Start" to initiate the formatting process. Be aware that formatting erases all data on the drive, so ensure you have a backup if necessary.
iii. Initializing the drive
If the hard drive is new or previously used with a different file system, it might require initialization. Follow the prompts provided by the operating system to initialize the drive and assign it a drive letter or name.
Once the formatting and initialization process is complete, your external hard drive is ready for use. You can now enjoy the benefits of extended storage capacity, easy data transfer, and efficient backups.

Using an external hard disk enclosure provides a convenient and efficient way to maximize the potential of your hard drives. By choosing the right enclosure, installing the hard drive correctly, and properly formatting and initializing it, you can unlock the power of external storage for backup, portability, and expanding your overall storage capabilities. Make the most out of your external hard drive enclosure by following these steps and enjoy the convenience and peace of mind it offers.